
Sourdough bread has more vitamins, minerals, and antioxidants than other types of bread. It also includes less phytate, making it easier for your body to absorb the nutrients it contains than normal bread.
Sourdough bread is a favorite starter in many fancy restaurants, often served with a small bowl of olive oil for dipping. Its unique taste and compatibility with savory toppings make it a delightful addition to any meal. But beyond its delicious flavor, sourdough bread offers several health benefits, especially for those with digestive issues.
One of the main advantages of sourdough bread is that it contains no added sugar or commercial yeast. This is crucial for maintaining a healthy balance of bacteria and fungi in your intestinal tract.
Sourdough bread has a more gentle effect on your stomach and pancreas, and it does not raise blood sugar levels as quickly as conventional bread.
Many of my patients on the anti-candida diet miss having bread. Commercial bread is often loaded with yeast and sugar, which can exacerbate yeast infections and digestive problems. Sourdough bread, however, is a great alternative that doesn’t encourage the growth of harmful bacteria or fungi.
While some people suggest avoiding all grains to eradicate yeast or bacterial infections, I have found that moderate consumption of grains like wheat, oats, barley, and rye can be part of a balanced diet. The key is to avoid foods high in sugar and stress-inducing lifestyles, which are often the real culprits behind digestive issues.
 The secret to a good loaf of sourdough bread lies in the starter. A starter begins as a mixture of water and flour, kept in a loosely covered container at room temperature. Over several days, with regular feedings of additional flour and water, the mixture becomes a thriving ecosystem of lactic acid bacteria and wild yeast.
The beneficial yeasts in sourdough starter, such as Saccharomyces diarensis and Saccharomyces exiguus, along with various strains of Lactobacillus bacteria, aid in digestion and improve gut health.
For those worried about gluten, sourdough made with buckwheat flour can be a great alternative. There are many recipes available that incorporate non-gluten flours like coconut, lentil, or pea flour.
Using a yogurt maker can help keep the starter warm, which is particularly useful in colder months. When the mixture becomes frothy and doubles in volume, it’s ready to use.
– 300 g ripe sourdough starter (about 2 cups)
– 1.2 kg white organic unbleached flour
– 600 ml pure or filtered water
– 25 g Celtic sea salt
1. Mix Flour and Starter: In a large bowl, combine the flour and starter. Add half the water initially, then the rest, reserving a little to adjust the consistency as needed.
2. Knead the Dough: Once mixed, knead the dough until it becomes smooth and soft. Let it rest for an hour.
3. Add Salt: After the rest period, sprinkle the salt over the dough and knead again.
1. First Proof: Allow the dough to rest for 6 to 8 hours, or until it doubles in size.
2. Second Proof: Divide the dough into two halves, shape into loaves, and let them rest until they rise again.
1. Preheat Oven: Preheat the oven to 180°C (160°C for fan-forced ovens).
2. Bake: Place the loaves in oiled or buttered tins and bake for about an hour, adjusting based on crust thickness preference.
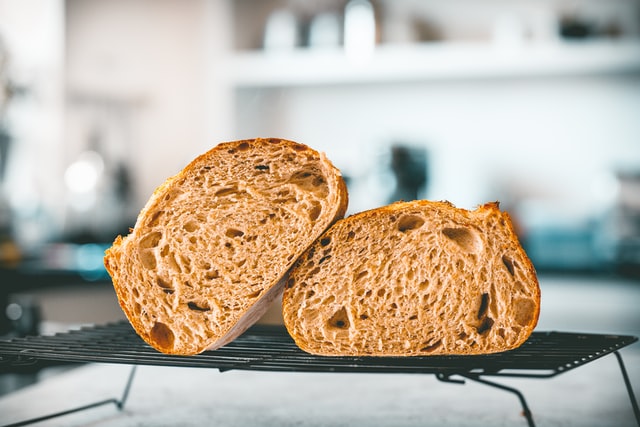
3. Cool: Remove the bread from the tins and let it cool on a rack.
– 2 cups brown rice flour
– 1 cup buckwheat flour
– 1 cup liquid sourdough starter
– 2/3 cup warm water
– 1-2 tsp honey or molasses
1. Mix Ingredients: Combine all ingredients in a large bowl and mix well.
2. Knead and Proof: Knead the dough and let it proof as described in the basic recipe.
3. Bake and Cool: Bake in a preheated oven and cool on a rack.
Sourdough bread is a delicious and healthy alternative to commercial bread, especially for those on an anti-candida diet. Its unique fermentation process and beneficial microbes make it a great choice for maintaining digestive health. For more tips on maintaining a healthy gut and delicious recipes, check out our blog on digestive health and recipe section
Happy baking!